bean wreath | penny pincher DIY | montana
~penny pincher diy's are projects that cost very little- $5 and under- and you can create pretty quickly. saving time and money. two things i love! pinch those pennies y'all! ~
>>>>>>>>>>>>>>>>>>>>>>>>>>>>>>>>>>> <<<<<<<<<<<<<<<<<<<<<<<<<<<<<<<<<<<
so lets add a little bit of fun to our homes with just a few items we have around, shall we?
i hate when people say a project "just uses stuff you have lying around". really? like i just happen to have 20 yards of designer fabric? or 10 power tools and 10 hours to kill? please! and i'm sorry but not everyone has a cricket or vinyl cutter! ok enough ranting!
i have a little ditty that takes all of 30 minutes and you probably DO have these items already-fo real!
all i used was:
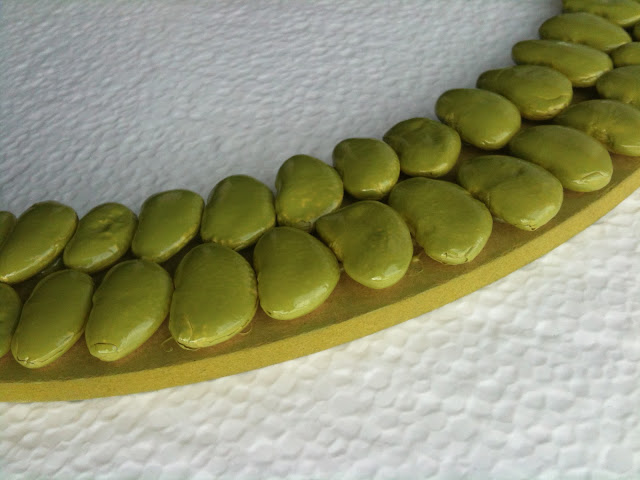
-dry beans from my kitchen-yes beans. like lima or kidney
-wreath frame. i have seriously had this one for years. got it from the $ tree eons ago. you could also use a cardboard "wreath". the beans don't weigh much so it won't weigh down or bend the cardboard. or even an empty photo frame would be cute! the point is a flat surface is best.
-spray paint or regular paint. i like the spray paint cause it's fast and i already had it :)
-hot glue. you could use a craft glue, but then you'd have to let it dry. who has time for that!?
so here's what you do:
gather your supplies. pick a place to do your spraying/painting. i picked a place outside away from cars and kids in our apt. complex. i also had some styrofoam insulation in my garage for a background to spray on but you could use news paper, cardboard etc.
spray a base coat on your wreath for the background.
don't spray a heavy coat. one, because you want the beans and glue to stick.
two, you don't need the background to be solid. *i actually didn't do this part! oops! honestly i forgot (i was so excited to start gluing!), but it turns out i didn't really need one for my own wreath. you however can do it however you like :). *
wait for that to dry, then start gluing your beans on! this is kind of the fun part!
depending on the size and shape of your wreath use a row system, starting with the inside row.
this one had enough room for two rows.
line all the beans up facing the same way front to back.
don't worry if this isn't perfect! the point is simplicity and quickness!! beans can be a little wonky so if some hang over and some don't, don't worry!
next, glue the second row, and so on, using the same method.
then let the glue cool completely before you start spray painting.
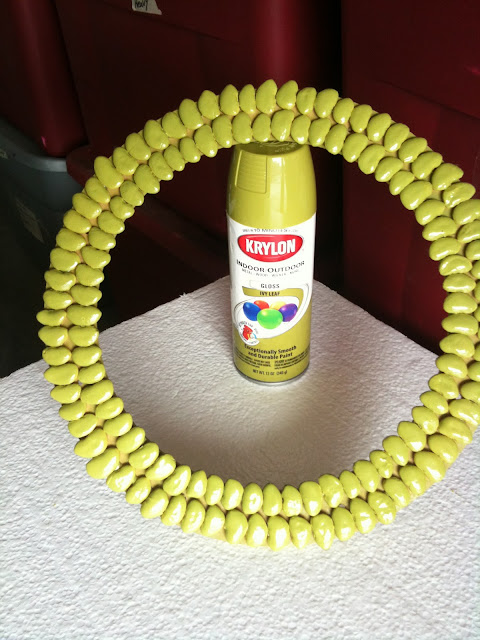
this spray paint from Krylon worked really well for me and it's an indoor/outdoor spray so i can hang it outside my door!
i liked the color too. perfect for spring and summer. and of course it's what i already had :)
add a second and third coat to get some nice coverage.
the key with spray paint is multiple thin even coats.
then stand back and enjoy the modern art you made as well...
and that's it! add a ribbon or pom or letter to spice it up if you like. i however like mine just like this. simple!
here's hoping you are enjoying your start to summer!
spray paint anything lately? been making other creations out of beans? what's your penny pinching tip?
if you do this project i'd love to see! share your link in the comments :)
happy friday y'all!


.jpg)

Comments
Post a Comment